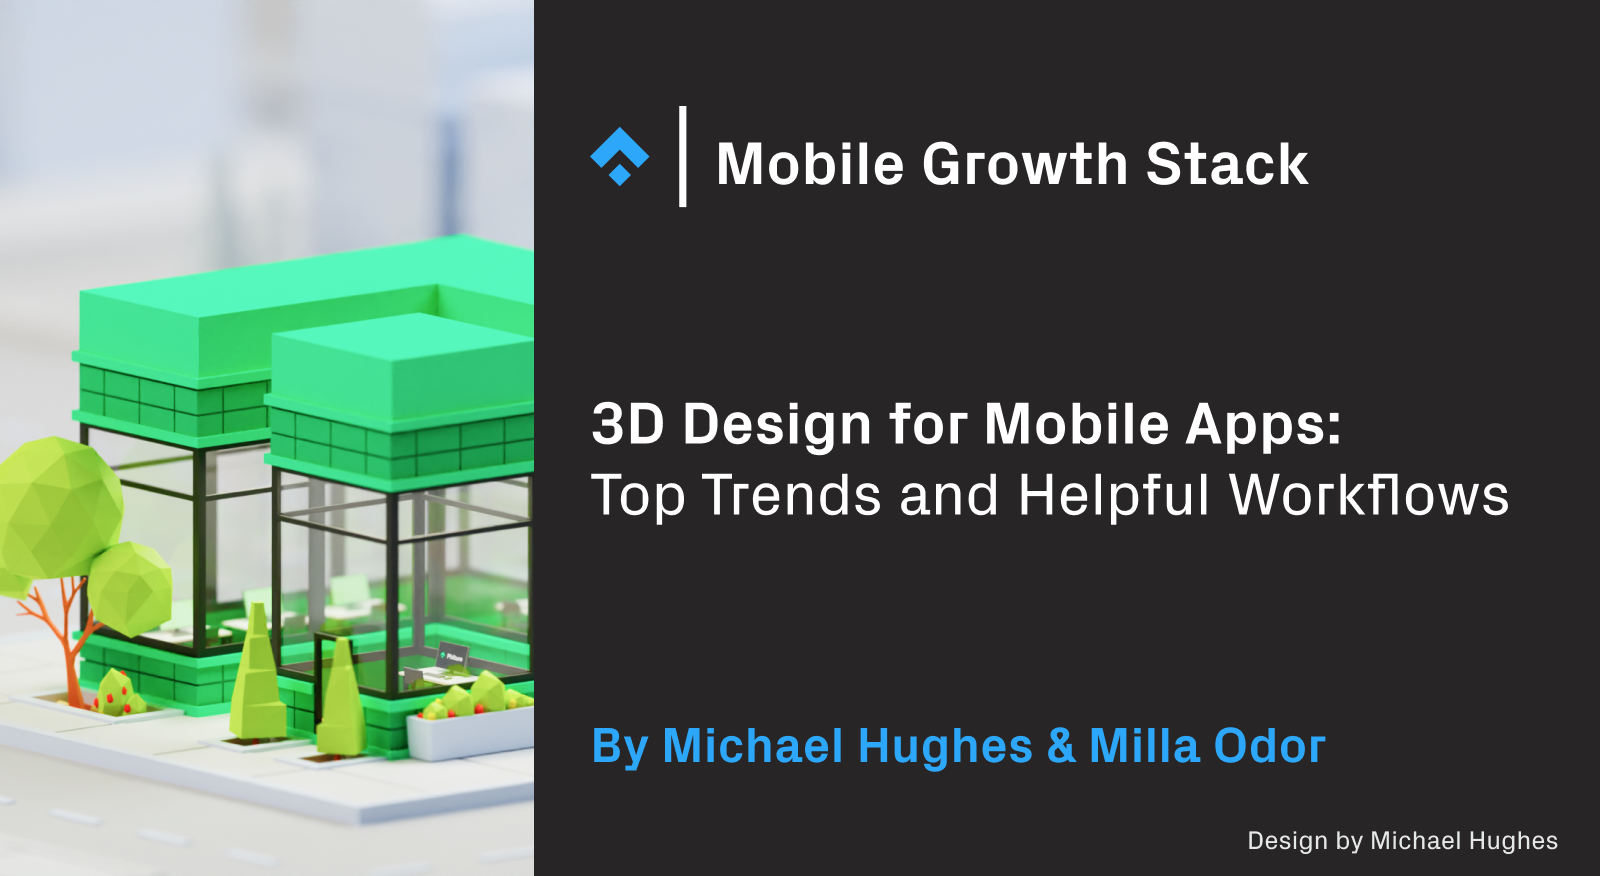
3D design is a powerful tool for creative strategy for mobile apps and games. Executed well, 3D creatives can elevate a brand and its product offering in the eyes of the consumer, helping you get the results you need. At Phiture, we’ve enjoyed success strategically using 3D design for our clients, as well as internal projects. To do this, our Design Team works closely with data scientists, marketing professionals, and localization experts to make sure it’s done well and yields results.
Along the way we’ve collected insights around visual trends, workflow ideas, and how to execute 3D creatives. In this article we aim to demystify 3D design and share our best practice on how to get started and deploy 3D design effectively.
3D design trends
It sounds obvious, but keeping up to date with design trends is vital when it comes to advertising, especially when taking a mobile-first approach. Consumers will be able to pick up quickly on an outdated design, and the product that you’re trying to promote won’t feel as premium to the target audience.
The use of 3D artwork in mobile design represents the cutting edge, and if you are new to this area, there are several sub-trends you can kick off your research with.
Extruded logos and typography
This is figuratively and literally extending existing branding in a very straightforward way! This is easily accomplished if you have access to ‘svg’ files. The simple addition of thickness to logos and wordmarks, combined with lighting, can have an immediate impact.
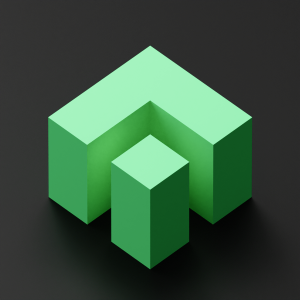
The Phiture logo, extruded.
Low poly and isometric style
To communicate form in these two styles, silhouette and consistent polygon resolution are the key elements. Stylized camera settings (like the extremely low F-stop value we’ve used here) are often used to give a “miniature” aesthetic.
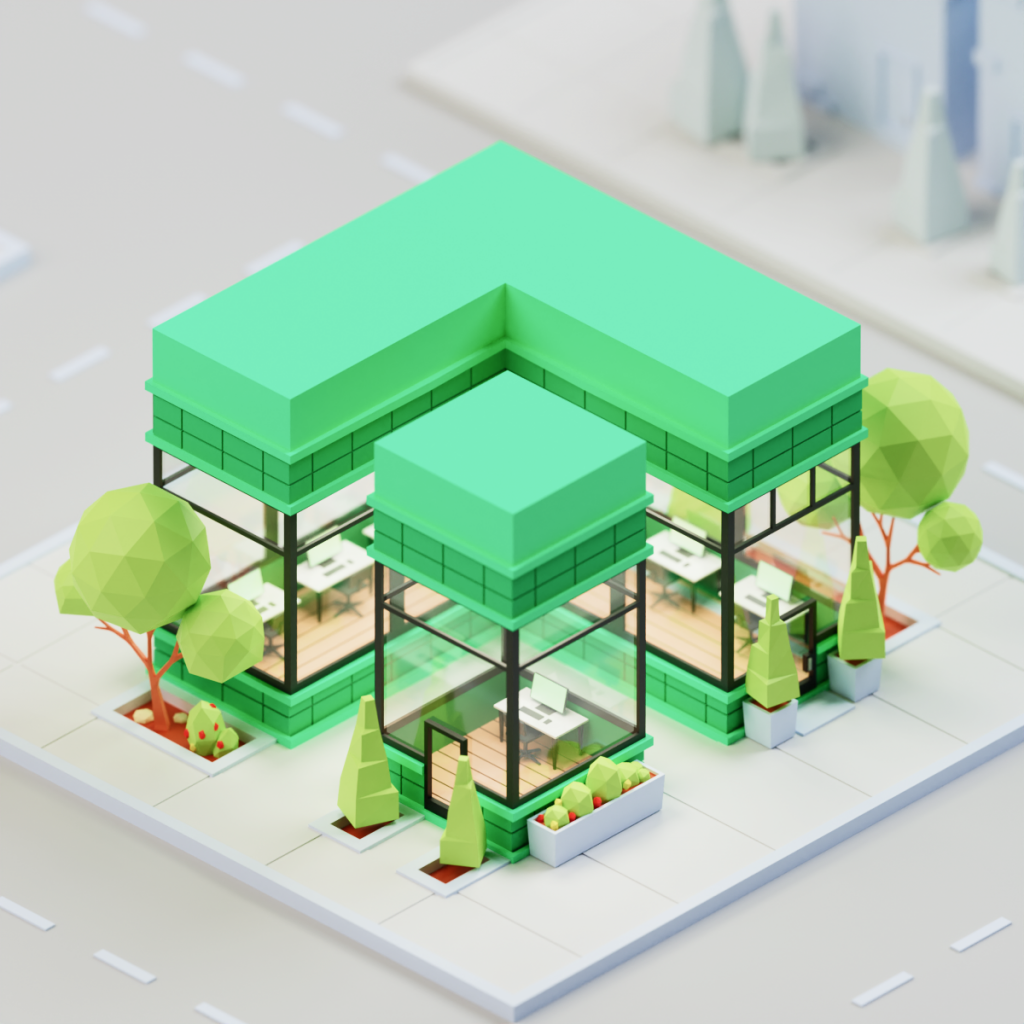
The Phiture logo meets a low poly and isometric style, for a miniature feel.
Mixed abstract and realism
This style is characterized by blending abstract or impossible shapes with realistic textures, or vice versa. Contrasting hard and soft edges, and textures can help create featured areas of your scene.
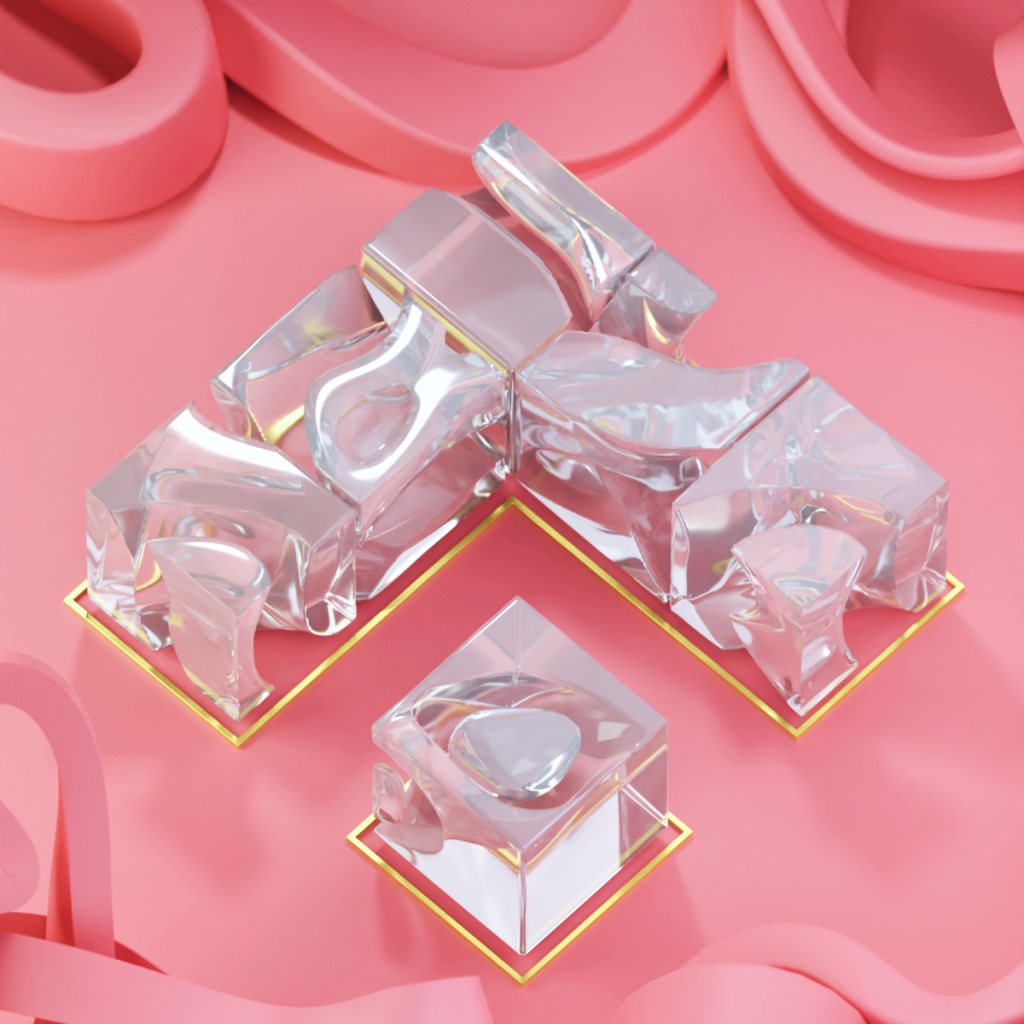
Phiture’s logo incorporating abstract elements and realism.
Primitives and pastels
This trend evokes a calm feeling by utilizing a color palette with muted tones, and scenes comprised of very simple, and often unedited primitive shapes and meshes.
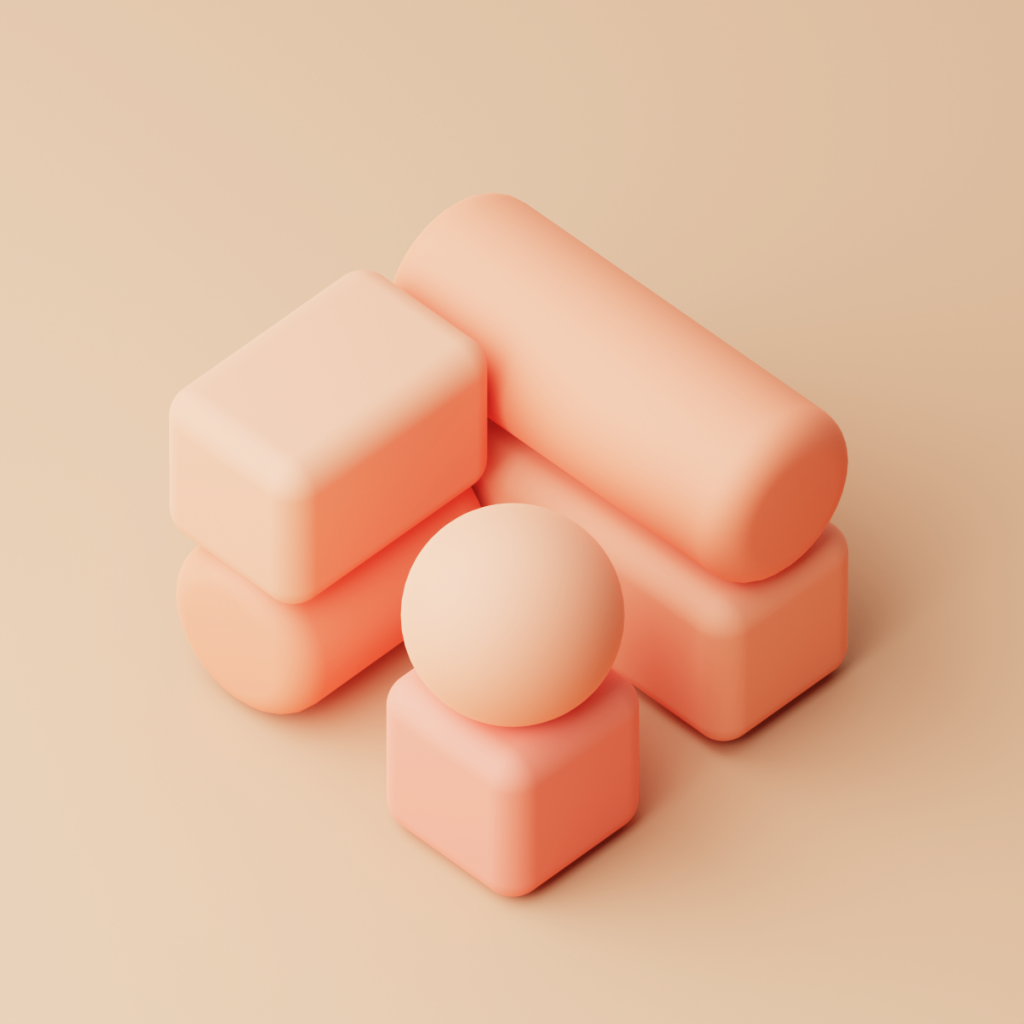
Muted tones and primitive shapes combine for a softer Phiture logo.
Helpful workflows
Now you’ve got an idea of which direction you want your 3D design to go in, we highly recommend putting in place a workflow. This is because 3D design work by nature can quickly become a complex undertaking.
There are several crucial aspects to executing 3D Design, and for each, different skills are brought to bear. Like anything in design, this isn’t necessarily a linear progression, and your workflow should factor in this iterative process.
Scene preparation, pre-production:
First up is pre-production. Here, we define where the 3D assets will ultimately be displayed, whether that’s as components used in static images, videos, or elsewhere. This will help outline the scope of work and time availability. Make sure you are setting up your scene with the appropriate resolution and scale. Organize all necessary assets and references by client and type (such as palettes, logo .svg and .png files, the usual!).
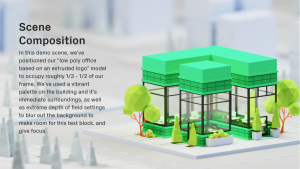
Scene composition
When composing your scene, start by dividing your frame into thirds, and placing your focal subject accordingly. Good questions to ask yourself are: where do you want to draw the viewer’s eye? Is the background too busy and distracting? Or too sparse? Will you need to leave negative or unfocused space on your render for text assets?
Consider blocking out a rough version of your scene with primitive shapes. This step is often ignored, but is an invaluable way to find a level of detail that feels right, before spending hours modeling more objects than you need.
Modeling and texturing
Take the time to do your research, and compile a set of reference images to work from. This is helpful even if you are required to create unique objects that don’t exist in the real world, as they can help define the right scale, proportions, and textures.
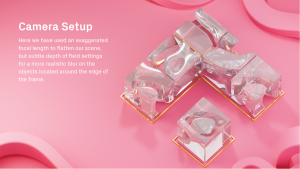
Camera setup
Setting up your main camera angle – or angles if creating animations – should happen fairly early in the creative process. This should be considered a part of the scene composition, and will go a long way towards defining the tone of your scene.
Approach the scene as you would setting up a photo or video shoot in the real world. There are many ways in which camera settings can impact your final render, and the feeling it evokes. For a start, it is important to learn about focal length, depth of field, and aperture settings to begin using the camera effectively.
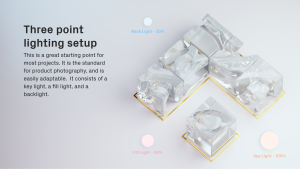
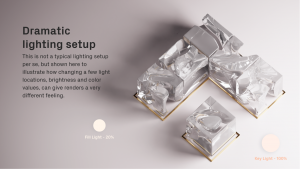
Lighting
As with camera setup, try to think as you would if you were lighting a subject in the real world. What parts of the scene will be highlighted? Will you try to create drama through shadow placement? Is a bright studio style scene appropriate for your client? A great starting point is the often recommended “3 point lighting setup” for most scenes.
Rendering
There are a lot of rendering engines to choose from, and each have strengths, weaknesses, and a lot of editable settings specific to different use cases. Generally speaking, rendering can ultimately come down to finding the right balance, or compromise between quality, and time.
Consider the needs of your project and scene as well as any time limitations. For more illustrative or stylized work, it is possible to use real-time engines (ie: Eevee, in Blender), for extremely fast results.
If a more photo-realistic or detailed look is required, you might choose a path or ray-tracing engine (such as Cycles, Octane, Arnold, Vray, or Redshift). This is where hardware and timeline limitations will influence your approach, as these engines can be taxing on your computer’s hardware. Depending on your setup and scene complexity, it is possible that rendering a single frame of an animation or static image can take a prohibitively long time.
It is therefore a good idea to make test renders along the way, to dial in your settings and find the appropriate balance. If budget and project scope allow, try exploring cloud rendering and outsourcing the tax on your GPU and the time your system is tied up rendering video frames. This can be a very convenient option.
Conclusion
These tips are intended as a jumping off point for your own 3D efforts for mobile, but it’s important to stay abreast of design trends to make sure your creatives standout from the competition. 3D design technology is also constantly evolving with ever more powerful software available. It is a vast medium, but with increasing affordability of hardware, and accessibility to software, it is an important aspect of creative work to have on offer.
Before you go:
- Phiture’s award-winning Design Team combine creativity with systematic testing to get results for mobile, with eye-catching designs that boost ASO, Performance Marketing, and Retention efforts. Want to find out more about how we can help your app grow? Write to us here.
- We use the PET Model to channel our creativity into mobile-first design that pushes the needle on our campaigns. You can check out our playbook here.
- Alongside every great design, you’ll need localized content adapted to its target market. Here we show you how that’s done for the Japanese market, one of the world’s most important mobile growth markets.